The Perseid meteor shower is coming! Still not sure how to photograph the starry sky? Read this article!
Preface
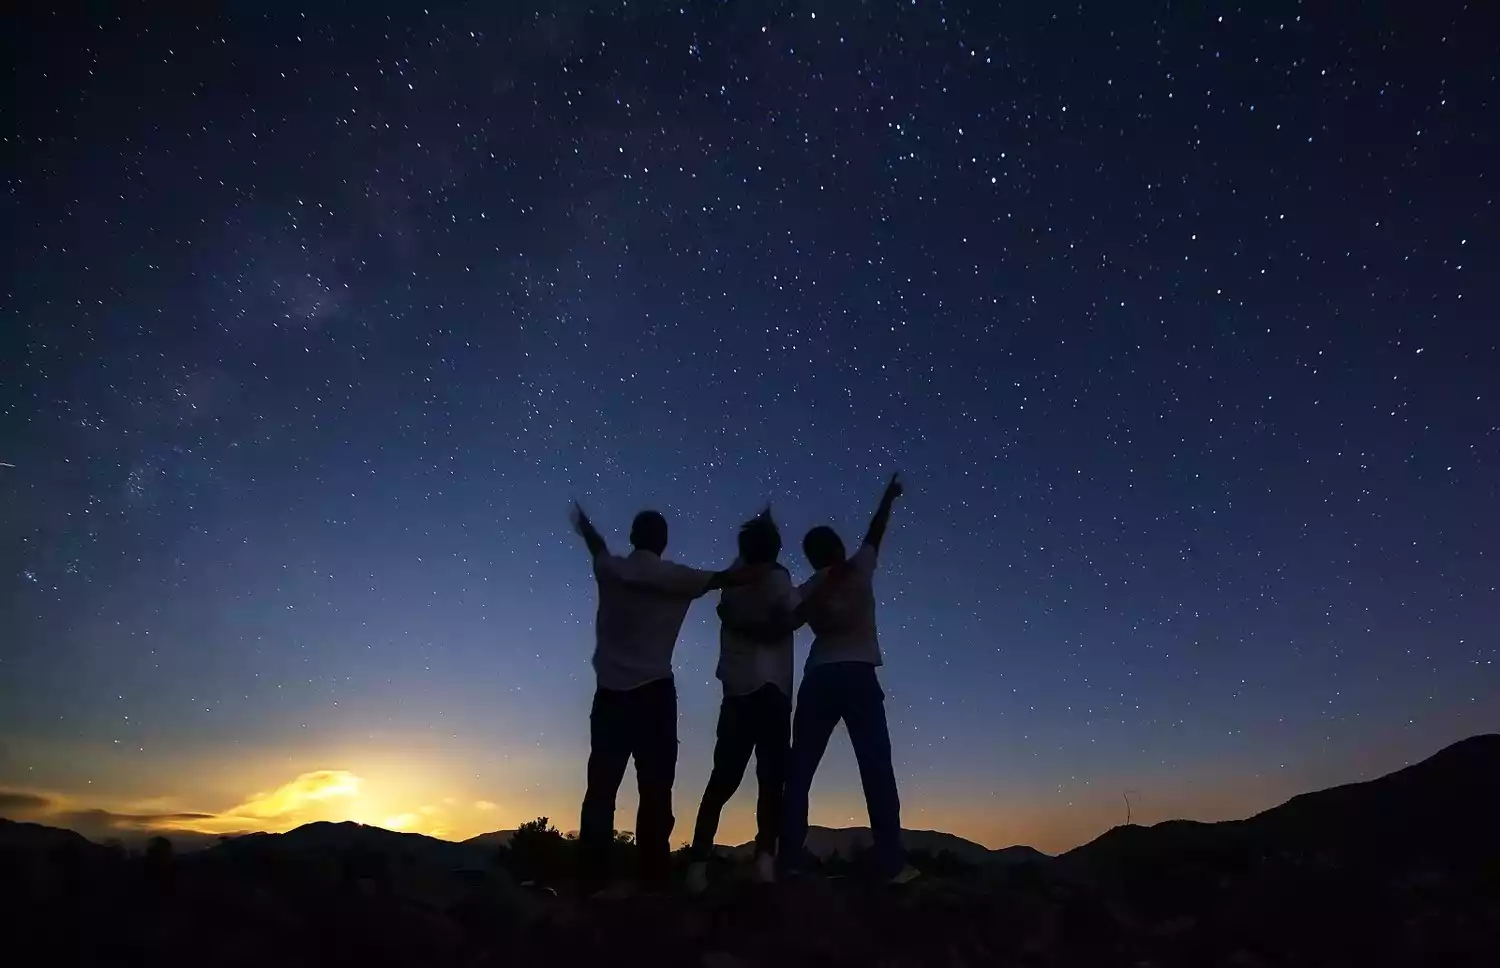
As August approaches, the Perseid meteor shower, one of the three major meteor showers in the Northern Hemisphere, has begun to appear frequently on major social platforms again, and the discussion of related topics has become increasingly heated. Many of my friends have even made appointments to watch the meteor shower together at that time.
Watching shooting stars streak across the night sky is certainly beautiful, but do you know how to capture this magical moment for later remembrance? Don't worry! With this guide, capturing the starry sky, the Milky Way, and even shooting stars is no problem – even a beginner can do it!
How to choose the right time to shoot?
Shooting time
As the saying goes, "the moon makes the stars sparse." When photographing the starry sky, it's important to avoid interference from moonlight, and this applies to shooting meteor showers. Generally speaking, the best time to photograph is around the 10th day of the first or last lunar month. The days leading up to the first day of the lunar month allow for almost all-night photography. Otherwise, avoid the moon before moonrise or after moonset. (Daily moonrise and set times are easily available online.)
Some people may ask, there are so many stars in the sky, I can’t even name a few of them, let alone figure out their positions, how can I take accurate photos of them?
Don't worry, some photography enthusiasts have specially developed relevant mobile phone software, such as Stellarium, Sky Guide, Qiaoshe, etc., which can accurately predict the time and direction of the rise of the Milky Way. You only need to download it in advance, open the software at the shooting point, and move the phone towards the sky to display the constellations and star names in the direction of the lens in real time. The operation is simple and very convenient.
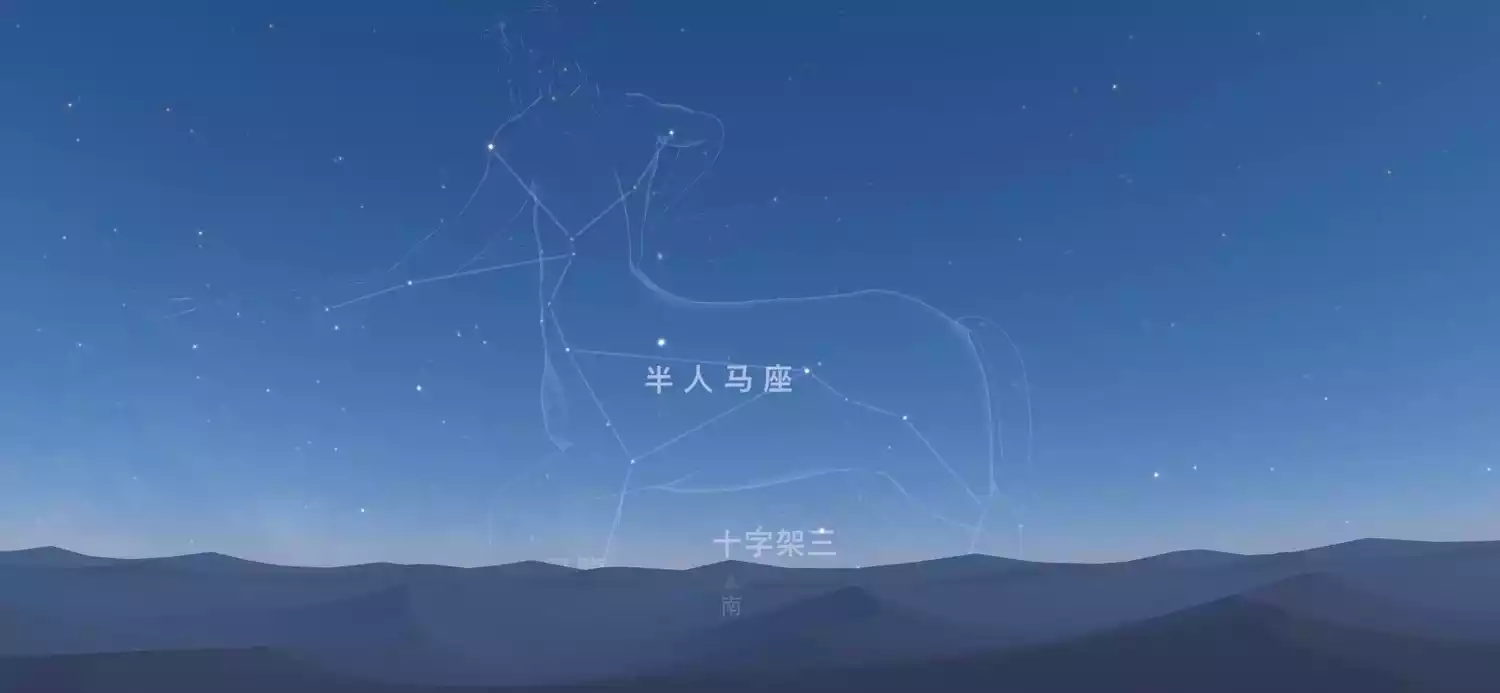
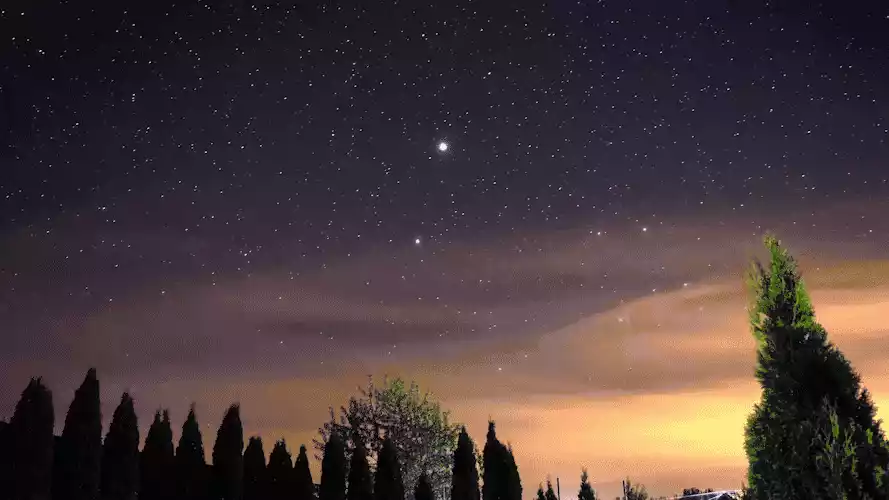
Sky Guide's real-time display
Filming Location
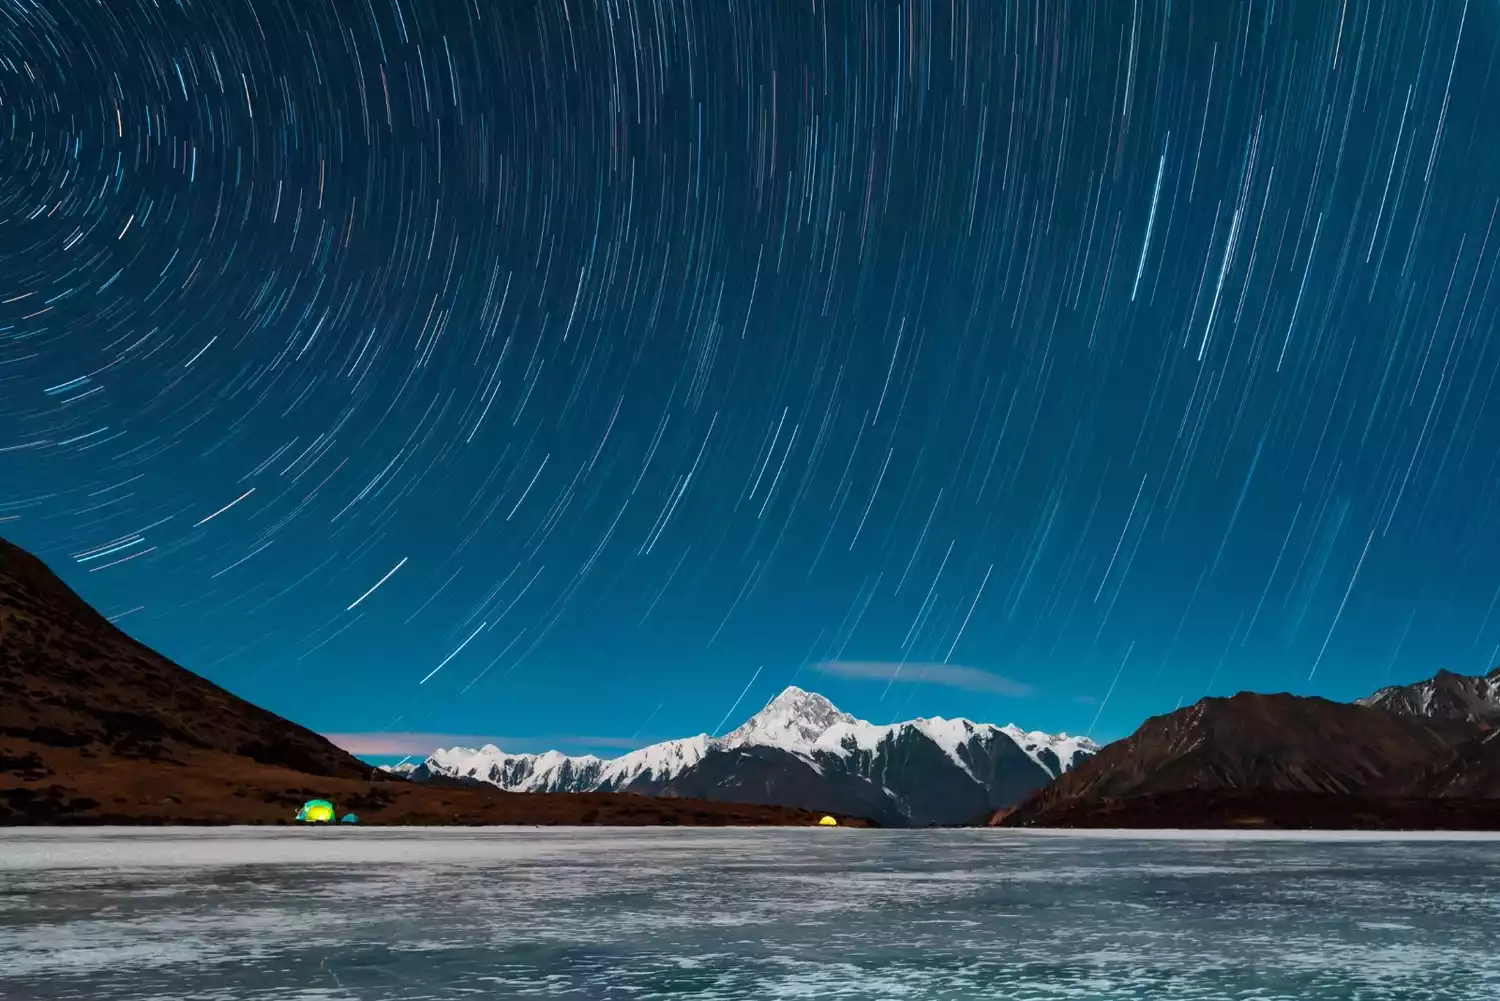
First, stay away from cities, as their bright lights at night create significant light and air pollution, significantly impacting your photography. Dark environments can generally be captured in a single exposure, while brightly lit areas require separate shots, which increases post-production workload. Secondly, avoid cloud cover, typically choosing high-altitude mountains or coastal locations far from mainland China. You can check local cloud cover for the coming days on websites like MeteoEarth and Windy Cloud Atlas, and check visibility at the Central Meteorological Observatory.
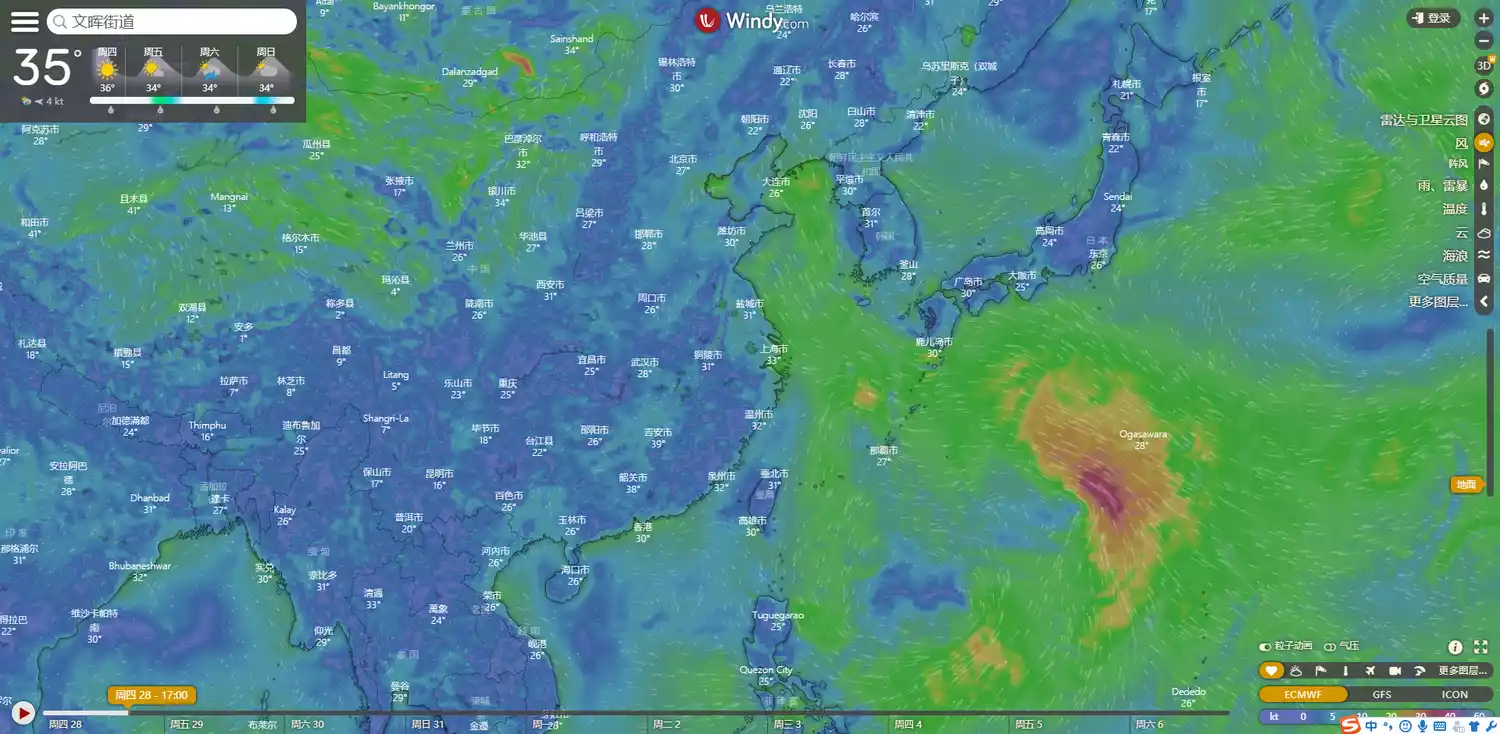 Windy radar and satellite cloud images
How to choose shooting equipment?
body
(1) Android phones: Many smartphones now have professional modes for taking photos. Generally, phones with professional modes can take photos of the starry sky. When shooting, set the ISO to the maximum, select a shutter speed of about 30 seconds, and focus on infinity.
(2) iPhone: iPhone cameras do not have a professional mode. You can use third-party software, such as NightCap, to shoot in starry sky mode and set the exposure time.
(3) Camera: Star photography requires very high sensitivity performance of the camera. Generally speaking, when other conditions are the same, the high sensitivity performance of cropped cameras is not as good as that of full-frame cameras, and cameras with larger frames are expensive. Although mobile phones are convenient, the image quality cannot be compared with that of cameras. Therefore, on the whole, it is recommended to use a full-frame mirrorless camera or SLR camera.
Tips: Whether you choose a mobile phone or a camera, you need to use a tripod when shooting.
Starry sky over Wumeng Mountain in Guizhou (Photo @ Photo Network)
lens
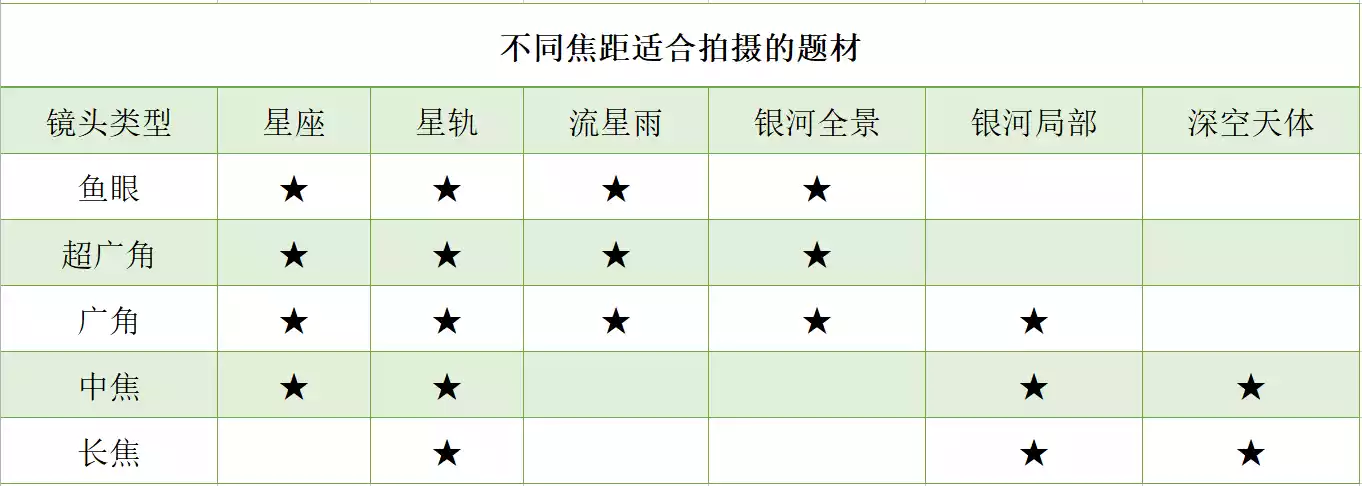
A large aperture wide-angle lens is essential for photographing the starry sky. Fixed focus is preferred, followed by zoom. The recommended starting wide-angle lens is 16mm, 14mm is second, and 12mm is better. The starting aperture is 2.8, 1.8 is second, and 1.4 is better.
First, wide angle. A wide enough lens can capture both the ground and the starry sky. A narrower lens will limit the framing and render the image less rich. Secondly, a large aperture. An insufficient maximum aperture will result in insufficient brightness in the live view, which will severely limit focus and composition. Because exposure time is limited, a wide enough lens aperture allows for lower ISOs when the camera is at maximum exposure, thus ensuring image quality. Too high an ISO will result in excessive image noise, reducing image quality.
Nowadays, major manufacturers (including Tamron, Sigma and other third-party manufacturers) have launched a wide range of lenses with a lot of choices. You can make a comprehensive purchase based on your actual needs and financial and material resources. I will not make any specific recommendations here.
tripod
A tripod is an essential tool for astrophotography. A stable tripod ensures stable camera movement during long exposures, greatly increasing your chances of achieving a perfect shot. Of course, astrophotography often requires outdoor pursuits, sometimes even long hikes with a heavy load to reach your shooting location. Therefore, in addition to ensuring stability, the tripod itself should not be too heavy. A travel-grade carbon fiber tripod is recommended.
Shutter cable
A shutter release cable is a remote control cable that controls the camera's shutter. Using a cable release to shoot can prevent camera shake when pressing the shutter button, ensuring the integrity of the image. We recommend choosing a programmable shutter release cable so you can set your shooting parameters.
Some other equipment are optional and can be flexibly selected according to actual shooting needs. For example:
Flashlight: used to assist focusing and provide lighting while traveling.
Red headlight: emits a faint red light to avoid disturbing others.
Anti-fog tape: used to prevent the lens from fogging when shooting in areas with heavy moisture.
Equatorial mount: can offset the Earth's rotation and extend exposure time; reduce sensitivity and improve image quality.

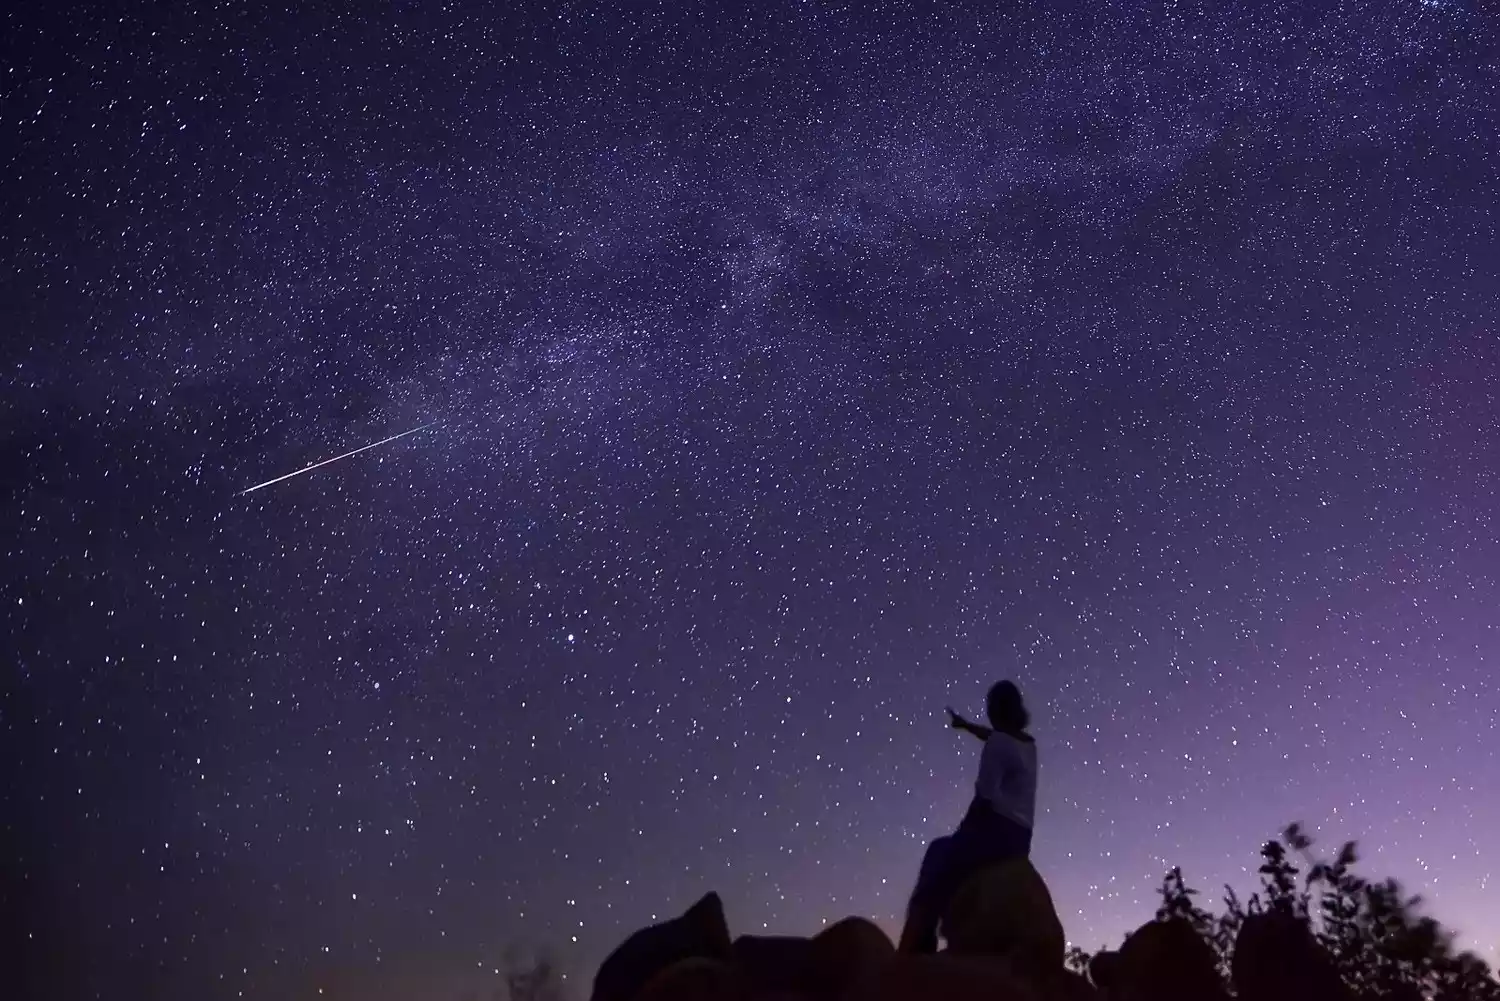
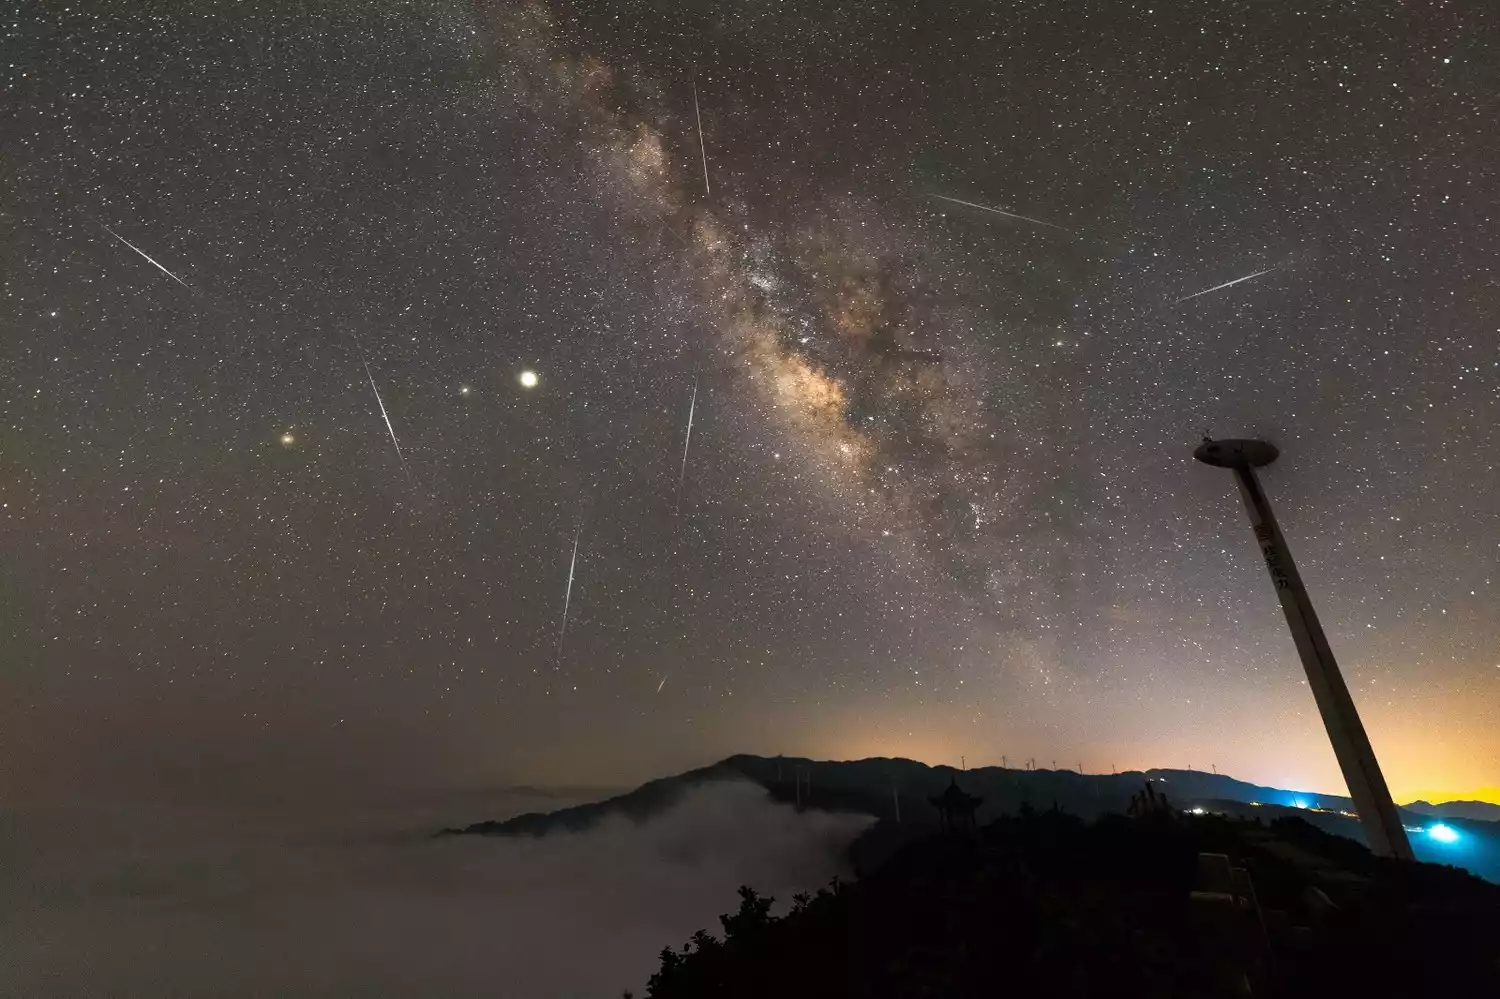
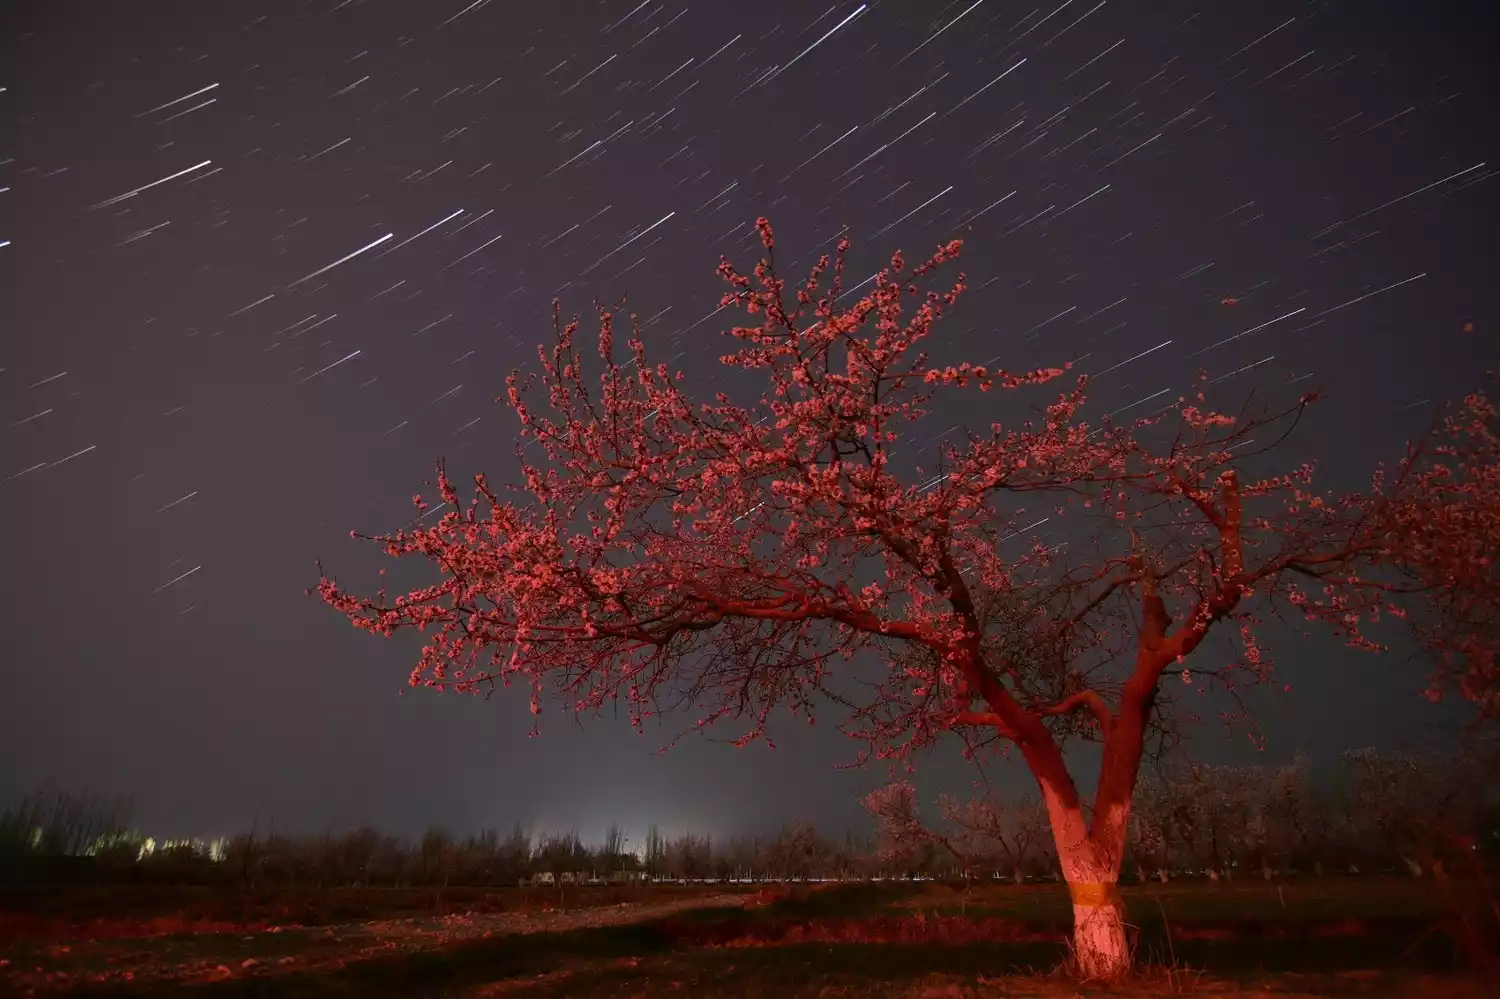
Jiujianpeng Meteor Shower (Photo @ Shetu.com)
What are the basic settings before shooting?
Before we start shooting, we need to do some basic settings on the camera:
1. Turn off the image stabilization of the camera body and lens. If you use the image stabilization function when shooting with a tripod, the effect may be counterproductive, so be sure to turn it off.
2. If you don’t edit the starry sky later, it’s better to play with your phone. Setting the image format to RAW can retain more complete photo information, which is convenient for post-editing.
3. Turn off the in-camera noise reduction function. Most cameras have high-sensitivity noise reduction and long exposure noise reduction turned on by default. Taking a photo with a 20-second exposure requires waiting for another 20 seconds, which is a huge waste of time, especially when shooting meteors.
4. In order to make the camera look more comfortable, the color temperature can be set to around 4000.
5. Switch the shooting mode to M or B and manually set the shooting parameters. Note: Due to the dark environment, Av, Tv, and P modes cannot accurately measure light and cannot be used.
6. Finally, adjust the camera screen to the darkest setting. This step is often overlooked. When the surroundings are pitch black, the screen is too bright and it is easy to misjudge the exposure. You may think the exposure is appropriate when shooting, but you will find it is underexposed when importing it into the computer later.
How to start shooting?
After completing the basic settings, we adjust the shooting parameters in the following order and start shooting by pressing the shutter (line):
1. Shutter speed
There's a "500 rule" for astrophotography: divide 500 by the focal length of your lens to determine the minimum shutter speed. For example, if your focal length is 14mm, 500 ÷ 14 = 35.7 seconds. In this case, the minimum shutter speed should be no slower than 35 seconds, otherwise the stars will trail excessively. Many photographers find that even with a 500x zoom, stars still appear slightly off-line, creating star trails. So, they try dividing the focal length by 400 to ensure a safe shutter speed.
2. Aperture
Generally, the largest aperture is used because the larger the aperture, the more light enters per unit time, and ultimately, more stars can be captured in the photo. Using an equatorial mount can capture more stars, and the stars at the edge will have less coma. This is partly because low ISO and small aperture can make the image purer, and partly because the equatorial mount immobilizes the camera relative to the stars, allowing the same exposure time to capture more and brighter stars.
3. Sensitivity
Photographing the starry sky requires high sensitivity, and ISO is usually 3200-8000 depending on the shooting environment. If you need to shoot star trails, usually only 100-200 is used, and the exposure time is increased to make the stars form trails.
4. Focus
Because the ambient light is too low, using AF will likely fail to focus. In this case, try using a flashlight to illuminate the foreground to assist with focusing. With manual focus, simply turn the focus ring to infinity and then pull it back a little. Fine-tune back and forth a few times to find the perfect focus position. Here's another focusing method with a higher success rate: live view zoomed-in manual focus: Find a bright star in the sky and turn the focus ring until the star is at its smallest point to achieve focus. Of course, if the foreground is close and focusing on both the foreground and the starry sky is difficult, you'll need to focus on the foreground and the starry sky separately, then merge multiple shots for depth of field processing in post-production.
5. Composition
After talking about focusing, let’s look at composition. Generally speaking, simply shooting the starry sky will make the picture appear too monotonous and without highlights, so when composing, it is recommended to choose some scenery as the foreground, and it is best to keep the foreground at about 1/3 of the entire picture.
6. Test shooting
After completing the above steps, take a test shot at maximum aperture and high ISO, play back to check the focus and composition, and slowly adjust to find the best parameters before you can start shooting. The following parameter range is for reference: ISO3200-8000, aperture F2.8-F4, shutter speed 25-30 seconds. Since meteors only pass for a few seconds, you need to use a higher ISO, a larger aperture, and a shorter exposure when photographing meteors. ISO6400-12800, aperture F1.8, and a shutter speed of 10-15 seconds are more ideal parameters. Later, by overlaying each photo of the meteor, you can get a photo that shows the grandeur of the meteor shower.
7. Fill Light
If the foreground is still pitch black after a long exposure, you can use a flashlight or car lights to fill in the foreground 1-2 seconds before the end of the exposure. This way, the foreground will not only be brighter but also have more layers.
8. Reinforcement
If the wind in the shooting environment makes the tripod shake, you can hang the backpack on the bottom of the tripod (some tripods have built-in hooks at the bottom) to increase stability.
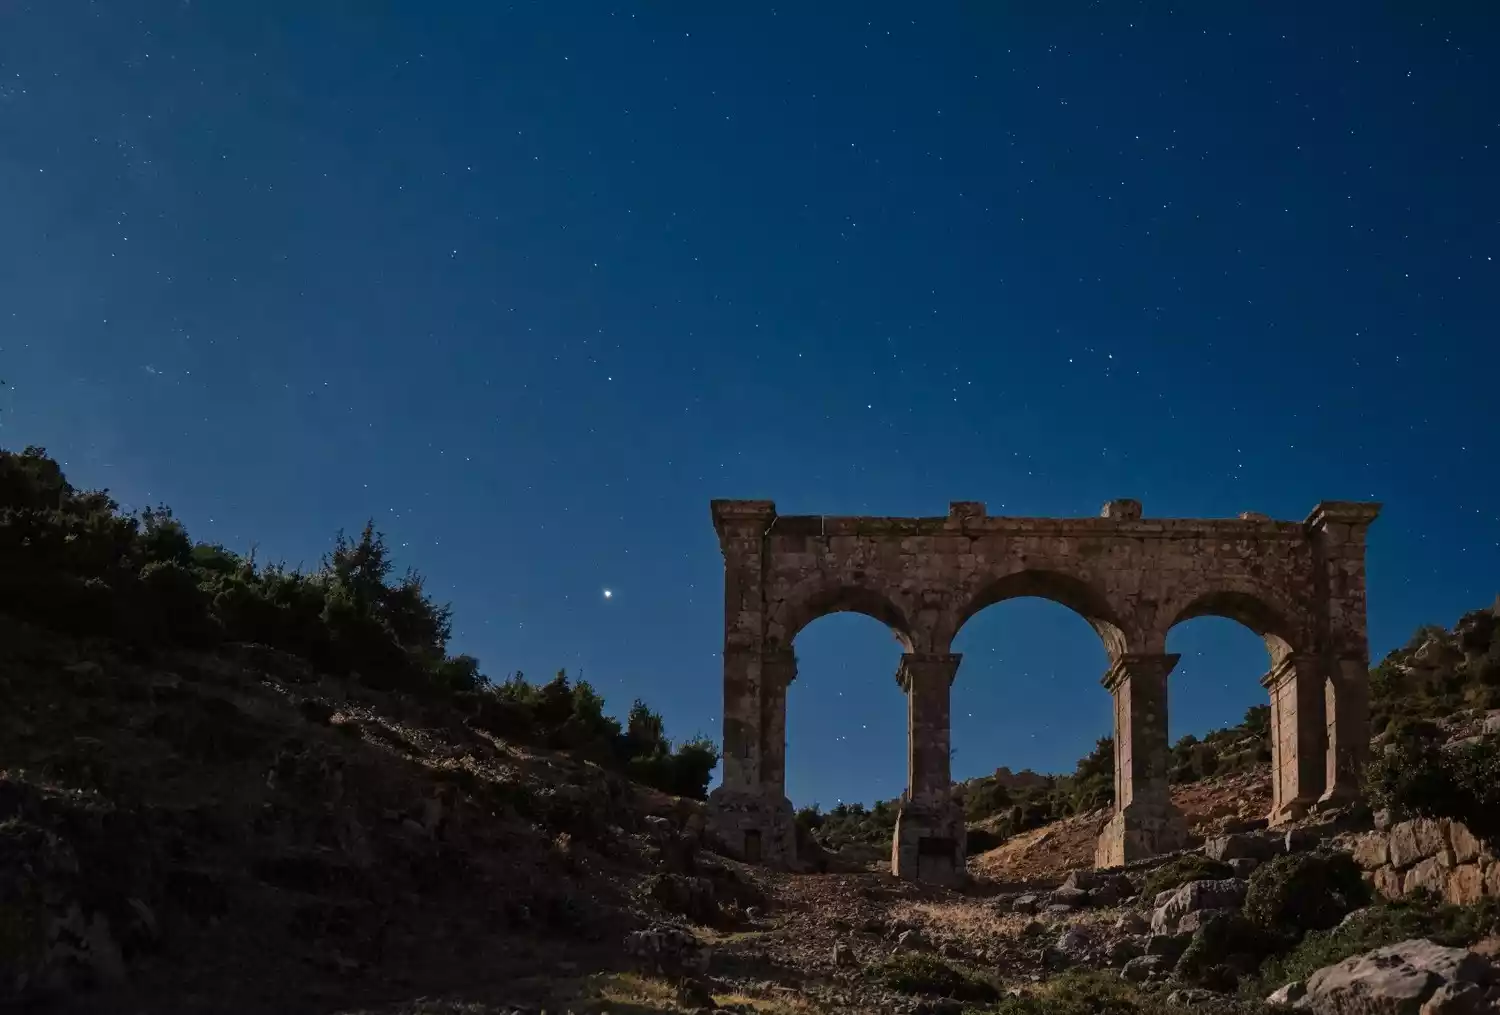
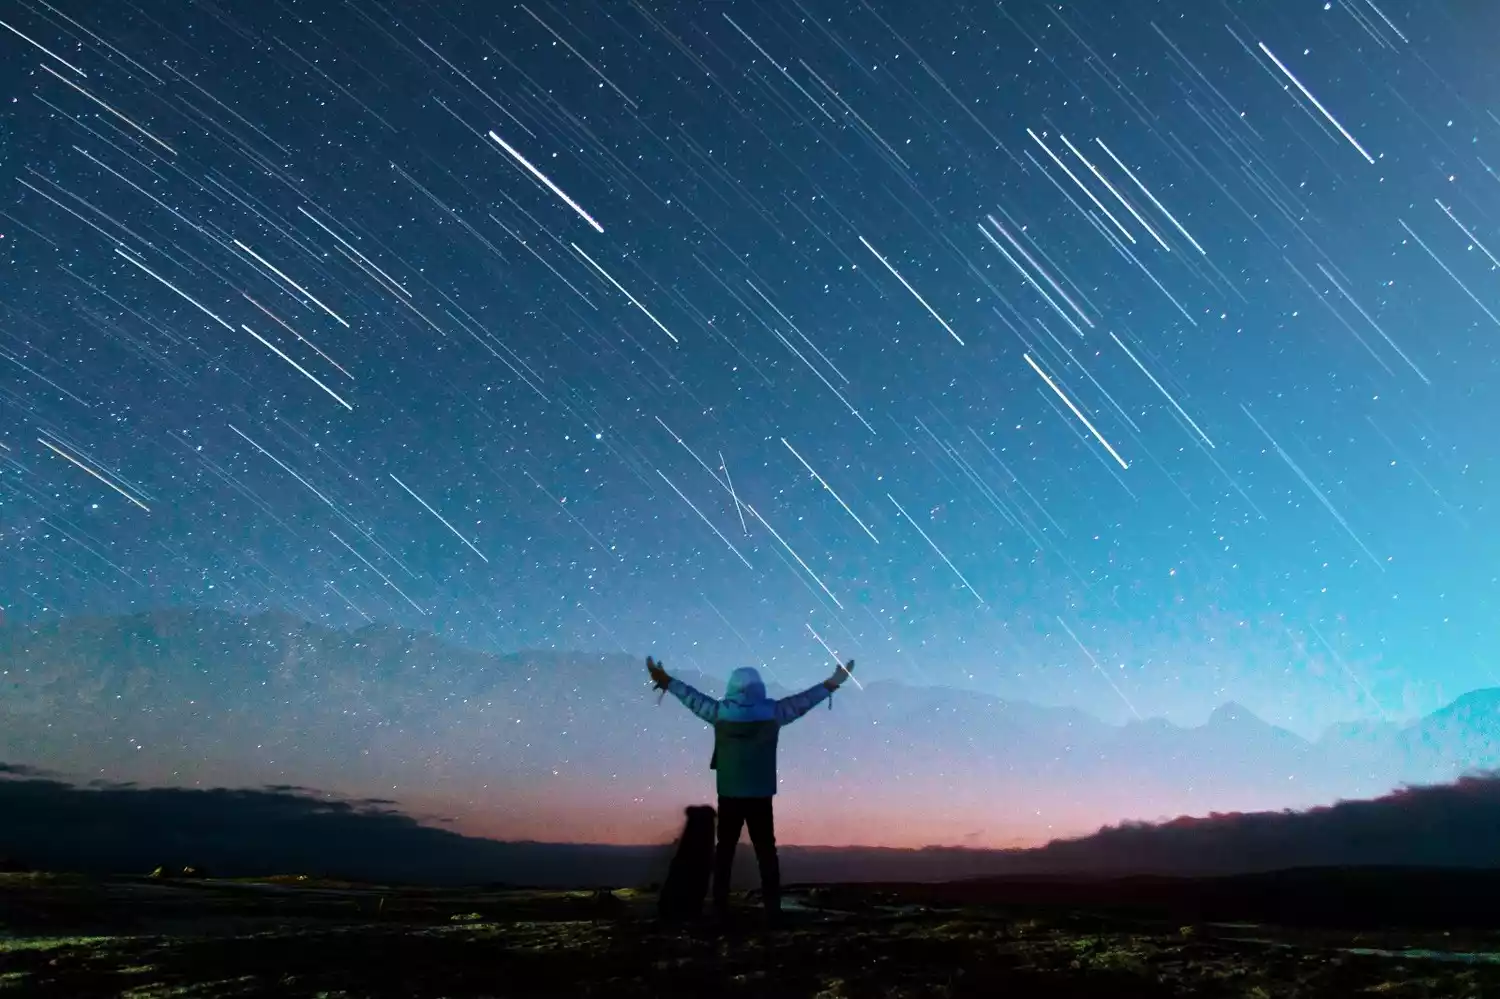
Li Suo Hai (Photo @ Shanyou)
How to deal with noise reduction in post-production?
Noise is an unavoidable factor in astrophotography, severely impacting the quality of our images. Noise reduction is often necessary in post-production. This can be achieved through a variety of methods, including in-camera noise reduction, post-production ACR/LR noise reduction, plugin-based noise reduction, Photoshop multi-frame averaging, and dark field noise reduction. Since we disabled in-camera noise reduction during the shoot, we won't discuss it here.
Post-production noise reduction using ACR/LR: ACR stands for Adobe Camera Raw, a photo processing software from Adobe. LR, like Photoshop, stands for Adobe Photoshop Lightroom, an image processing software from Adobe. When using ACR or LR to process noise, the default color noise settings generally remain unchanged, and the luminance noise setting should not exceed 20. Exceeding this setting will affect image sharpness and detail.
●Plug-in noise reduction: You can download specialized PS plug-ins such as Nik Dfine, Noiseware, Topaz Denoise, etc. for quick noise reduction. Nik Dfine can be downloaded for free.
Shoot in the dark to reduce noise. Besides the interfering signal noise caused by excessively high ISO, long exposures that cause the camera sensor to heat up can also cause high-temperature noise, also known as thermal noise. At the end of the shoot, cover the lens cap and take another completely black photo. Import it into Photoshop, place the normal starry sky photo on the bottom layer and the dark field photo on the top layer. Change the layer mode to "Difference" to effectively remove thermal noise.
Any tips for improving quality?
Paying attention to the following points when shooting can also improve the quality of our starry sky works to a certain extent:
1. When shooting, use a fill light from a distance to fill in the foreground to illuminate the foreground and improve the image quality.
2. Choose to shoot when the moon is just rising or setting. The moonlight during this period is soft and can illuminate the foreground, improving the image quality.
3. Use low sensitivity to shoot the foreground in advance during the blue hour. The photos taken at this time will basically have no noise. After the Milky Way comes out, depth of field merging will be required in later stages to avoid noise.
4. Use low sensitivity and long exposure to shoot the foreground. At this time, the shutter speed is not limited by the 500/400 rule.
5. Since the stars are moving relative to the earth, the sky and the ground are stacked separately when performing multiple average stack noise reduction processing in the later stage. The foreground part is stacked normally, and the Milky Way part is stacked after alignment. Finally, the two parts are synthesized.
6. Shoot in segments: shoot the foreground after sunset, and shoot the starry sky after the galactic center rises; or shoot the starry sky first, and then shoot the foreground before sunrise, and then synthesize the two parts later (at this time, you need to make sure that the camera remains still during the entire shooting period).
Conclusion
Meteor showers are something you can only encounter when you can't. This year, the Perseids' peak (August 13) coincides with a full moon, so the viewing experience will be affected to a certain extent. But I still believe that as long as the sky is nice and you have mastered certain observation knowledge and photography techniques, you will definitely have a great time!